Whether you just had a baby and haven’t caught your breath enough to get a photographer scheduled, or you simply want to capture those early hours yourself, this guide will walk you through exactly how to take beautiful newborn photos at home — with nothing more than a phone, a window, and a few things you already own. These are the same principles I use in professional sessions, simplified for parents who are running on no sleep and running out of time.
Last updated: May 2026 — originally published 2020, refreshed with current tips and gear recommendations.
DIY Newborn Photography: How to take newborn photos at home
Whether you’re a DIY momma looking to test out your own photo skills, or a new mom not ready to someone in your home post birth, this post is for you.
Steps on how to take newborn photos at home
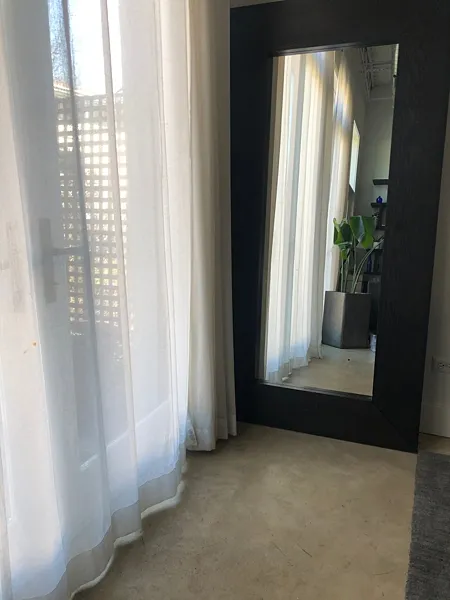
Find a window. Almost any will do, but a larger window, facing north, will offer a nice diffused light. It’s also nice to choose a window where there is an opposite wall nearby that can bounce the window light around, further softening the shadows in your newborn’s picture. (Note, I did not have a second wall to bounce, but I will address this below.
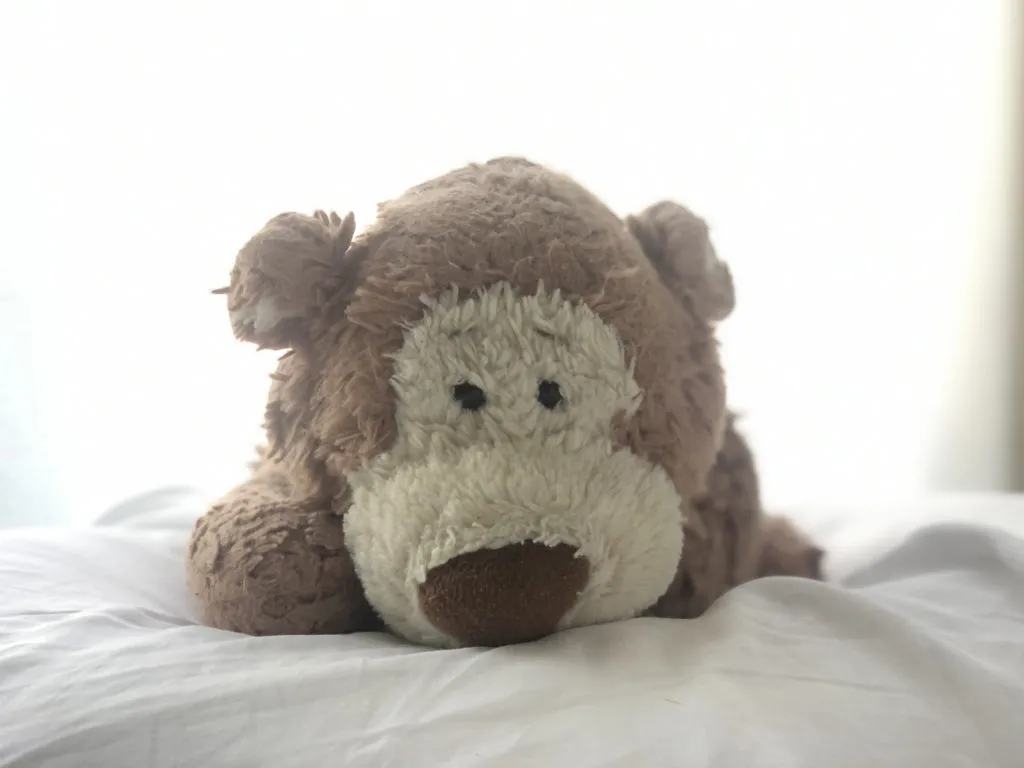
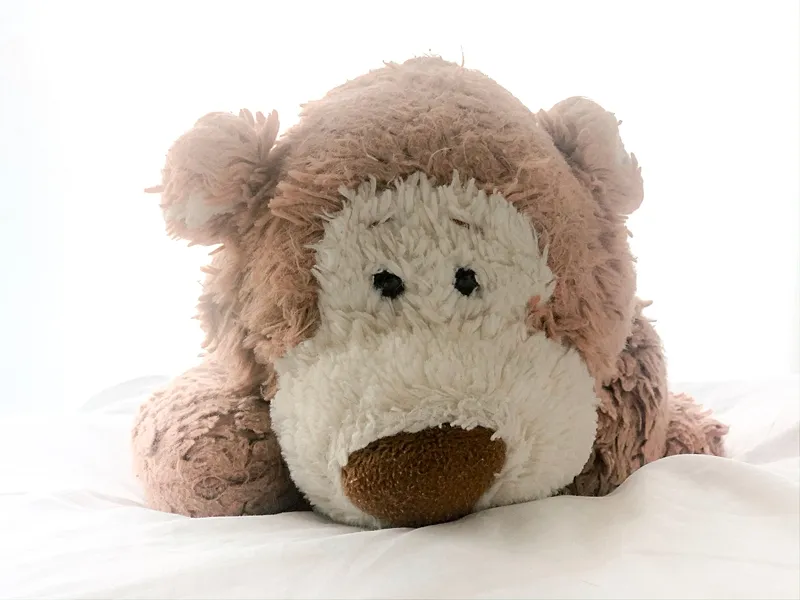
Supplies needed: A couch cushion or something similar. A white sheet. A nursing pillow (a.k.a. boppy) or soft-ish pillow, up to four chairs.
Set up your background. If you are setting up on the floor, grab a couch cushion for a soft, but supportive surface, which you can also easily rotate. Lay your “background” so that the window is positioned to the side of your baby’s head. Next, set your nursing pillow. I like the full boppy lounger, which offers the most support for the baby’s body. I only had this one, so I adapted it for support with a rolled-up towel. If you don’t have a boppy, a pillow will do in a pinch, you’ll just have to be on heightened alert to make sure there’s no rolling.
Cover your “staging area.” You may need to first cover your pillow or boppy with a white towel if your sheet is thin like mine. Then cover that with your sheet. I prefer white because it will reflect light back onto your little baby, softening shadows for that dreamy effect.
Create a clean background. If you want to create a very clean background, set up the backs of the chairs facing toward your support, then drape your sheet over the chairs. Bonus, if you have older kids at home, the setup of chairs and blanket is a great activity for them since it’s much like building a fort.
Position your baby. Keep this simple! I know those posed pictures with a baby resting their head on their arms are sweet, but it takes some skill and your little one might lose it before you get them molded into position. When you’re already stressed from “these times,” this is a straight ticket to complete meltdown. Instead, go with the classic side or tummy sleeper. If you’re still having trouble, swaddle them up, which is very calming for most babies and makes them easier to manage for pictures.
The position. Lay the baby so that the window is directly to the side of their head, but slightly forward. This is called “feather” the light. This effect creates dimension to your little ones’ features.
Next, if you have portrait mode, use it. If not, don’t fret. Just come close enough to your baby so there’s not a lot of distracting things in your background. A good photography rule of thumb is holding your lens just above the baby’s eye level, which is a flattering angle.
Rotating is key. Once you’ve nailed one newbie photo, keep rotating your little one or rotating around them, for as long as they last. Don’t forget to look for little details like their toes, hands, shoulder dimples, and tushes. Also, you might not appreciate it now, but it can be fun to have the “outtakes” like yawns or cries too.Regular Mode Portrait Mode
Make your images pop with filters. I love Lightroom Mobile because it gives me the most editing power. I can adjust brightness, color tones, blur backgrounds, and even do minor retouching. Before
Good luck! Direct message (D/M) me if you need any other newborn photo tips and tricks. Also, check out my Instagram account for the original post and leave a comment sharing your own experience with DIY newborn photos.
Also, if there are any other tutorials you’re interested in reading or seeing, let me know below. I’ll give this whole IG/TV a shot. Now’s the time, right?
Want to see more from the blog? Check out these posts below:
Interested in scheduling a baby or family session when social distancing loosens up? Contact me todayhere, call 402-304-4057 or email maggie@rifeponcephotography.com. I’d love to hear from you!
Safety first — the rules that matter
Before anything else: newborn safety is non-negotiable. A few principles to work from at home:
Never leave baby unattended on an elevated surface, even for a second.
Keep the room warm — 75–78°F minimum when baby is undressed. Newborns lose body heat quickly.
Skip the posed “froggy” or “bucket” poses that require composite editing. These are done with an assistant and safety spotter in professional sessions. At home, stick to natural, supported positions baby can hold on their own.
If baby is fussing, stop and soothe. No photo is worth a stressed baby.
When to shoot — timing your session
The best time for DIY newborn photos is within the first two weeks, when babies are still deeply sleepy and naturally curled. After that, they become harder to settle into those classic newborn looks — though awake, alert shots at 3–6 weeks are beautiful in their own way. Within those first two weeks, shoot right after a feeding when baby is milk-drunk and drowsy. That’s your window. Mid-morning tends to offer the best natural light for most homes.
The 5 must-have shots for every DIY newborn session
Don’t overcomplicate it. If you get these five, you’ll have something meaningful:
Full body, sleeping — baby on their back or side, natural light from the window. This is the one that shows how tiny they are.
Face close-up — get in close. Fill the frame with their face. Focus on the eyes even if they’re closed.
Hands and feet details — the details disappear fastest. Spend time here.
Parent holding baby — a hand cradling a head, a chest-to-chest hold, a nose-to-nose moment. Don’t skip this one.
Sibling interaction — if you have older kids, a moment between them and the baby is worth more than any posed shot.
Editing your photos — keeping it simple
Lightroom Mobile (free) is the best editing tool for this. After you shoot, open your favorites and make three adjustments: lift the shadows slightly (drag Shadows up), reduce the highlights if anything looks blown out, and warm the temperature just a touch. Newborn photos almost always benefit from a slightly warmer, softer edit. Avoid heavy filters or preset packs — they tend to make newborn skin look orange or flat. Less is more.
When DIY works great — and when it doesn’t
DIY newborn photos are a beautiful option for capturing those early hours when a professional isn’t an option — hospital stays, Fresh 48 moments, or simply the spontaneous magic of day three at home.
But there are things that are genuinely hard to replicate without experience and gear: even, controlled wrapping; composite poses; sibling coordination with a fussy baby; and the kind of patient, unhurried presence that turns chaos into something calm. If you want those images — the ones where it looks effortless — that’s what a professional session is for.
Prefer to have a pro handle it?
If you’ve read this and thought “I’d honestly rather just be in the photos” — I completely get it. I offer Chicago newborn sessions both in-studio in Wicker Park and in your home across the city and north suburbs. Sessions are unhurried, safety-first, and designed around the reality that new babies are unpredictable. Let’s talk about your timeline.